Baking bread on a boat could be of great help in certain cases like for example if you are in the middle of the sea, and you just realized that you don’t have any bread left to accompanied your delicious meals!
Also, nothing beat the taste of a well made fresh bread that just went out of the oven, especially when it is followed by an excellent glass of wine or a good cup of espresso! There are many ways to bake bread, and you don’t necessary need an oven on board to get good results!
In this article, you’ll find some of my best bread recipes and techniques that I’ve tried by myself so that you too can make your bread easily and quickly on board! Before going any further, I would like you to know that I never use any sugar or white flour to make my bread! And YES…It remains delicious!
Don’t Have An Oven On Your Boat!
NO problem, it will surely not stop you from making good bread. Quite the contrary! Here is one of my favorite recipes “Pita” which I ‘ve found easy to make! Once you taste it, you’ll be hooked!
The only equipment you need is a Cast iron skillet, mixing bowl, a plate and your hands!
Ingredients
- 1 KG whole wheat flour
- 100 Gr Whole wheat (Extra for the surface)
- 750 ML lukewarm water (If the water is too warm, it will kill the yeast, and if it’s too cold it will take a long time for the dough to rise.
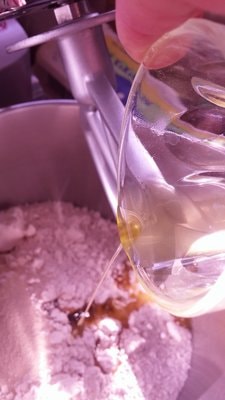
- 2 tablespoon of olive oil
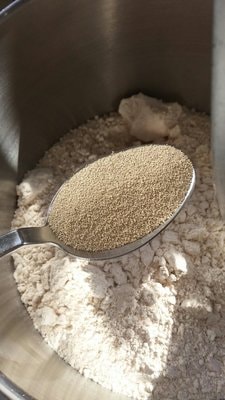
- 4/3 tablespoon dry yeast
- 2 teaspoon sea salt
Preparation
1.Mix all the ingredient together, add the salt separately from the yeast.
2.Knead the dough for about 10 minutes with your hand or with a Kitchen Aide mixer until the dough becomes elastic. If it sticks, add some flour and if it is too dry, add few drop of water until the dough is formed.
3.Spread some olive oil all over the surface of the dough.
4.Cover with a kitchen towel or with plastic wrap.
5.Let it rise for 1/2 hour if it’s in a warm place or 1 to 2 hours if it is in a cool place.
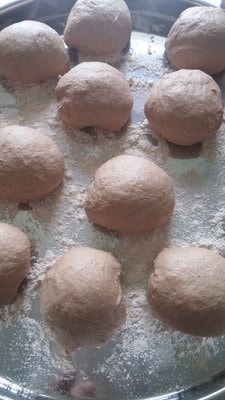
6.Knead the dough, divide it into 20 equal pieces of 80gr and let them rise a bit.
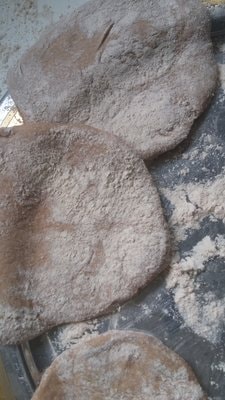
7.Spread each piece into a round shape (10 inches wide and 4 inches thick) in the flour and let them rest a bit.
8.Preheat the Cast iron skillet without any addition of oil.
9.Cook the pita on low heat until it swells and flips it to the other side for 1 to 2 minutes. Et Voila! If you have an oven, just put the pieces into the oven and bake for 10 minutes on 170-degree temperature.
Bread Cooked In The Oven
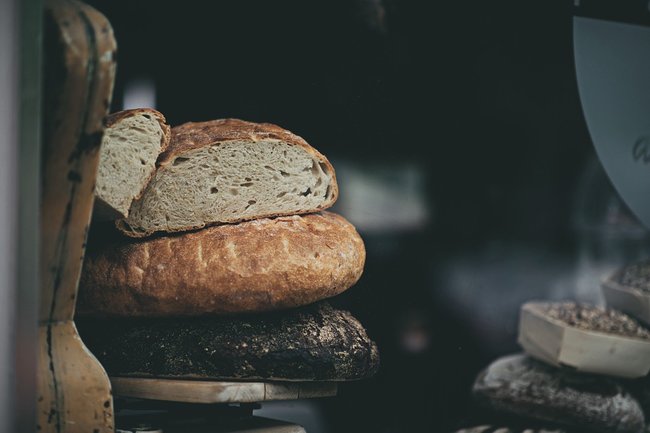
This bread recipe contains the same ingredients as the one stated above “Pita”. The only difference is that it is prepared and cooked differently. A real delight and it can be stored for few days in the fridge.
Ingredients
- 1 KG whole wheat flour
- 100 Gr Whole wheat flour (Extra for the surface)
- 750 ML lukewarm water
- 2 tablespoon of olive oil
- 4/3 tablespoon dry yeast
- 2 teaspoon sea salt
Preparation
1.Mix all the ingredients together and add the salt at the end.
2.Knead the dough for about 10 minutes in a Kitchen Aid mixer or by hand until it becomes flexible and elastic. If the dough is too sticky, add a bit of flour and if it is too dry, add a few drops of water.
3.Oil the surface of the dough with olive oil and cover with a kitchen towel, or a plastic film.
4.Let it rest for 1/2 to 1 hour in a warm place or 1 to 2 hours in a cool place. When the dough has doubled in volume, knead the dough and let it rest one more time until it doubles in volume.
5.Preheat the oven to 160 degrees
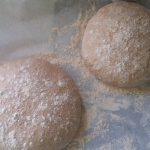
6.Once the dough is ready, work it on a floured surface area and divide it into two pieces.
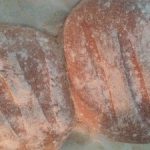
7.Shape it into oval form and with the help of a sharp knife cut the surface into vertical and horizontal line “2 inches depth”. Cover with a kitchen towel and let it rest for 15 minutes.
8.Throw a small amount of flour on each bread and cook them for 40 to 50 minutes.
Note: If you want to get an exquisite bread, put a small bowl filled with hot water in the middle of the rack while cooking the bread. And it’s done!
Tips
1. If you store the flour in a dry and warm place for a while, chances are the flour will be infected with bugs. The best solution to prevent bugs development is to store the flour in a fridge or a freezer, or an icebox will do the job as well.
2. Sift the flour and stores it in zipped bags before you begin your sailing trip, it will save you a lot of time!
3. If you wish to have fresh bread in the morning ready to eat on the table, then you would want to make the dough in the evening and let it rise during the night. If the weather is hot, then it is better to put it in the fridge and let it rest until the morning.
4. If if it’s cold and you don’t have an oven, then let the dough rise somewhere warm like for instance in the engine room or why not on the water heater!
5. If you don’t have fresh water on board, there is no harm to use sea water. Just put the same quantity of water but without adding any salt.
Conclusion
Either way, whether you have or don’t have an oven on the boat, there will always be a way to make delicious bread while you are sailing. Just, make sure you have some flour stored in your cupboard!
Want to Know Other Great Recipes?
Sign up to Cruising Sea newsletter to receive every two weeks the latest post straight to your inbox!
How do you bake bread on your boat? Please let me know in the comment below

Daniella has been passionate about travel, the sea, and nature for many years. As a child, she frequently traveled throughout the Mediterranean and continued with her journeys throughout her adult life.
Her experiences have created the desire within her to share her love for traveling with other passionate and adventurers who want to discover beautiful horizons and new cultures.



I almost always have bread with a meal. A slice of wholewheat or rye accompanies most meals. homemade bread is my absolute favorite. Dipping a slice of freshly made bread into small dish of olive oil and balsamic vinegar is such a treat.
I’ll be trying out your recipes for sure.
Hi Keith,
I can see we have a lot in common:) I do love to dip my pieces of bread in olive oil as well! Yes, try this recipe and, please let me know how it goes. I’ll be glad to know:)
Thank you very much for this kind comment and wish you a lovely day!
Wow great article! It never occurred to me to cook bread while cruising the open sea. At first I was thinking on a commercial cruise ship. I was intrigued because I was wondering how to do this on a commercial cruise ship. It occurred to me this could be on your own boat. This is an incredible idea. I love it. The instructions are easy to follow. I am going to try it at home first to see if I can master it before making my trip to Bimini. Thanks for a wonderful idea.
Hi Robert,
Yes, it is an excellent idea, in fact, if you have the right equipment to cook on a boat, then you can prepare delicious meals on your boat. It is just that bread goes well with every meal and it fills you up! The sea opens the appetite, so we always need some good bread within reach of the hand.
I’ve been a few times to Bimini, and it is just beautiful! Do you mind if I ask you which part of Bimini are you going to? To North, South, East, or all of them? I love the Bahamas, I could leave there for the rest of my life if my kids weren’t so emotionally attached to their friends:)
However, I wish you a fantastic trip with a lot of fun!
Thank you very much for the comment.
Have great day!
What an amazing article! I’ve never been on a yatch, but you make me want to plan a trip. I love freshly baked bread. I used to own a breadmaker, that I loved dearly. Would you suggest a breadmaker on a boat if an oven is not available? How many variations of this recipe are available?
Hi there,
I am so glad that this article makes you want to plan a trip:) And I hope you will make it soon because it is really fun!
I own a breadmaker and to be honest; I really dislike it. It is practical, but the taste of the bread is way much different from the one you bake in an oven or on a skillet. My husband bought me the breadmaker as a present, and you know where it stands now? In the garage:) I never use it! If you want to have a real taste of bread, then I would recommend you not to use a bread maker! But that’s my personal point of view.
Thank you very much for the comment and please let me know if you need help with anything by leaving a comment or contacting me. I am always happy to help!
Great tips and advice on how to cook bread while at sea. I love the fact that your recipe doesn’t contain white flour or sugar. I think for me the option to use sea water really stood out as a fantastic way to eliminate the need to add salt when making your bread. I I would like to know if I choose the option to cook the bread in the iron skillet will I have to eat it immediately or can I preserve it for a few days in the fridge?
Hi there,
Yes, that’s right, I never put white flour or any sugar in my bread as it is really not healthy! I try to keep my blood sugar under control:)
To answer your question about preserving the bread after having cooked it in the skillet. Yes of course. In fact, you can preserve any bread in a fridge or a freezer. Just bear in mind that the bread will remain fresh for only a few days in the fridge while in the freezer it can be preserved for months. But it is so delicious that even if you keep it in the freezer, it won’t last a long time:) Once in awhile, I have a baking day and then I freeze all my bread hoping it will last for few months, but my kids and my husband love them so much that they are gone after two weeks:)
I hope it helped and if you need to know more info, please don’t hesitate to contact me at any time. I’ll be more than happy to assist!
Thank you very much for the comment and wish you a wonderful day!