
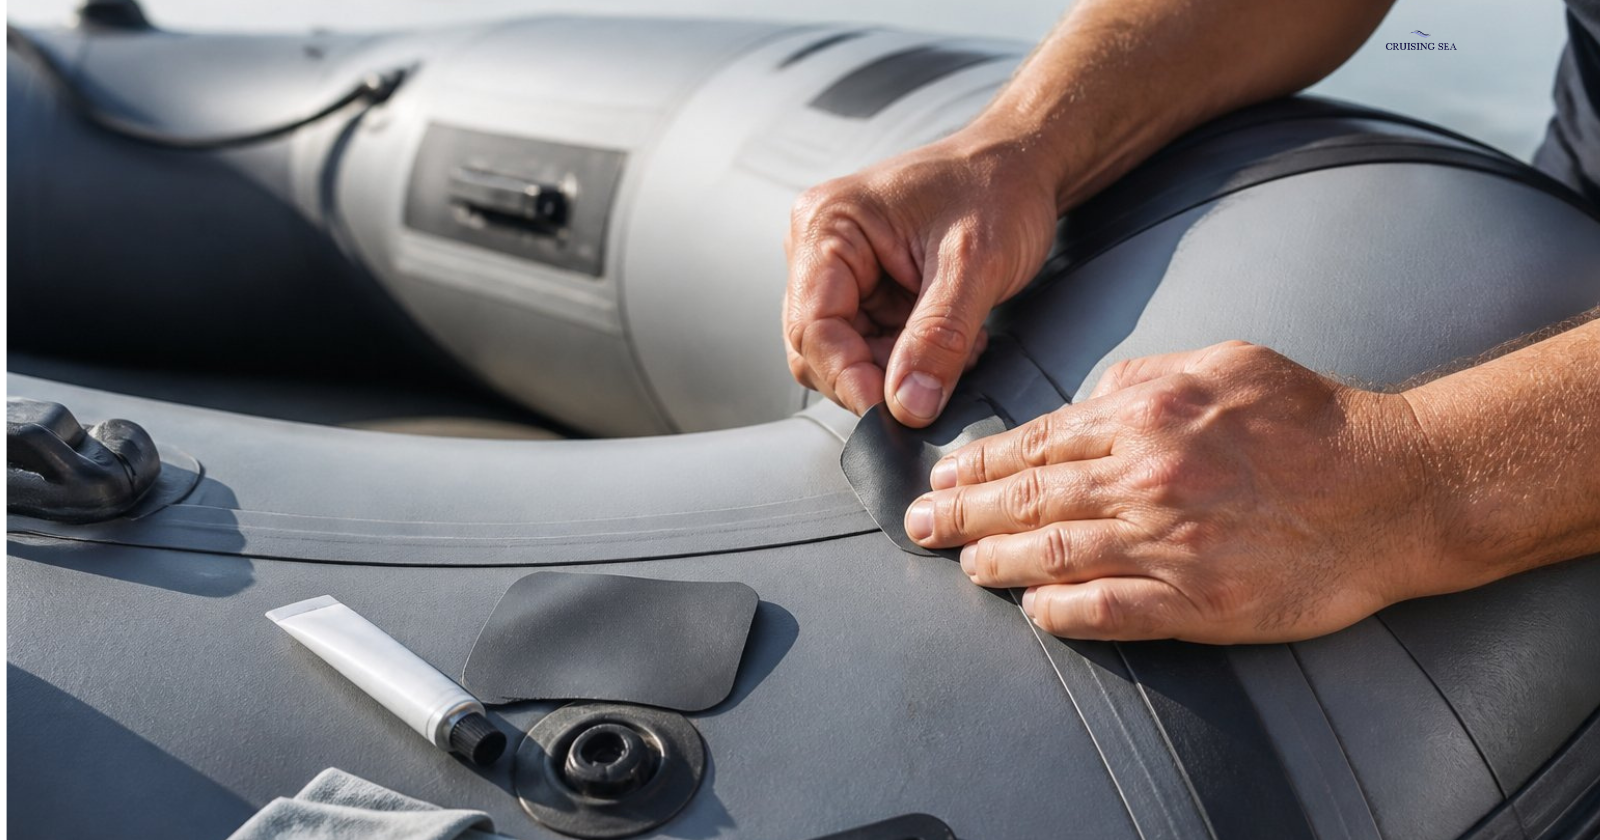
Inflatable boats are tough and reliable, but even the best ones take a beating from normal use. Punctures, tears, seam splits, and valve problems can all sneak up on you — whether you’re out on the water or pulling your boat out of storage after winter.
The good news is that most of this damage is completely fixable at home, without expensive tools or professional experience. Most fixes are simpler than you’d expect, and all it takes is the right materials, a bit of patience, and knowing what you’re actually dealing with.
This guide covers everything you need to know — from spotting damage early to patching punctures, resealing separated seams, and fixing leaky valves. Whether you’re dealing with a tiny slow leak or a more serious tear, you’ll walk away knowing exactly how to handle it.
This post contains affiliate links. If you use these links to buy something, we may earn a commission. Thanks.”
What’s Actually Wrong With Your Boat? The Three Types of Damage You Need to Know
Before you grab a patch or start spraying soapy water everywhere, it helps to know where inflatable boats typically fail. Problems show up in one of three places:
Punctures and Tears
- Caused by fish hooks, rocks, coral, dock hardware, and rough surfaces
- UV exposure makes material brittle over time — easy to miss until it starts leaking
- Small pinholes deflate slowly over days; larger tears cause rapid, obvious air loss
Seam Separation
- Happens where two pieces of material are glued or welded together
- Telltale sign: one section goes soft while the rest stays firm
- Look for bubbling, lifted material, or white streaks along the seam line
- Focus on high-stress points — corners, floor-to-tube connections, and transom areas
Valve Problems
- The base where the valve meets the tube fabric can also pull away over time
- Responsible for some of the most frustrating leaks because they’re slow and hard to pin down
- The valve core can wear out, crack, or trap debris inside
Stock Up Before You Start: Everything You Need in Your Repair Kit
Having the right supplies ready before you begin is half the battle. Showing up to a repair without the correct materials is one of the most common reasons DIY fixes fail. Here’s what you’ll want on hand.
Don’t Buy the Wrong Kit: Matching Your Repair Supplies to Your Boat’s Material
- PVC adhesives: Polymarine PVC Adhesive, Stabond PVC, Bostik marine PVC adhesive
- Hypalon adhesives: Polymarine Hypalon Adhesive, Stabond Hypalon, Aquaseal
- ⚠️ Never use PVC glue on Hypalon or vice versa — the chemistry won’t bond, and the patch will peel off later even if it looks fine at first.
Your repair kit must match your boat’s material — and this matters more than most people realize. Most inflatable boats are built from either PVC or Hypalon, and as mentioned above, each one requires different patches and adhesives. So, always check your boat’s label or owner’s manual before buying anything.
A solid repair kit includes patches in multiple sizes, the correct adhesive for your material, and clear instructions. The basic kit that came with your boat handles small emergency fixes, but a professional-grade kit gives you far better long-term results.
Those basic included kits typically use one-component adhesives that only bond to the surface layer — fine for a temporary patch, but not something you want to trust on open water. Investing in a proper kit means your repairs will hold for years instead of peeling off after a few outings.
The Solvents That Actually Make Your Repair Stick
Acetone and methyl ethyl ketone (MEK) are the solvents you’ll use to prep surfaces before bonding. They remove oils, salt residue, dirt, and oxidation that would prevent your patch from sticking.
MEK is more aggressive and works better for tough cleaning jobs, but acetone gets the job done for most standard repairs. Always apply solvent to both the patch and the boat surface, let it evaporate fully, and work in a well-ventilated area — these are strong chemicals.
The Simple Tools That Make Every Repair Easier
A valve wrench is essential if you’re dealing with any valve-related issues — it lets you remove and reinstall valves cleanly without cracking the housing. Beyond that, keep these items within reach:
- Sharp scissors to cut patches cleanly
- A small roller or smooth rounded object to press patches down and push out air bubbles
- A waterproof marker to outline damage before cutting your patch
- Clean cloths or rags for applying solvents and wiping away adhesive
- A heat gun or hair dryer if your specific adhesive requires it (most modern PVC adhesives don’t)
Patch It Right the First Time: Step-by-Step Instructions for Fixing Punctures and Tears
A puncture repair comes down to four phases: finding the damage, prepping the surface, applying the patch, and letting it cure properly. Rushing any one of these steps is the most common reason DIY repairs don’t hold.
1# Hunt Down Every Single Leak Before You Touch the Glue
Inflate your boat fully so any damage becomes easier to detect. Do a complete visual scan of the entire surface, looking for obvious cuts, worn spots, or abrasions. If nothing jumps out, reach for your soapy water solution — spray it over small sections and watch for bubbles forming on the surface.
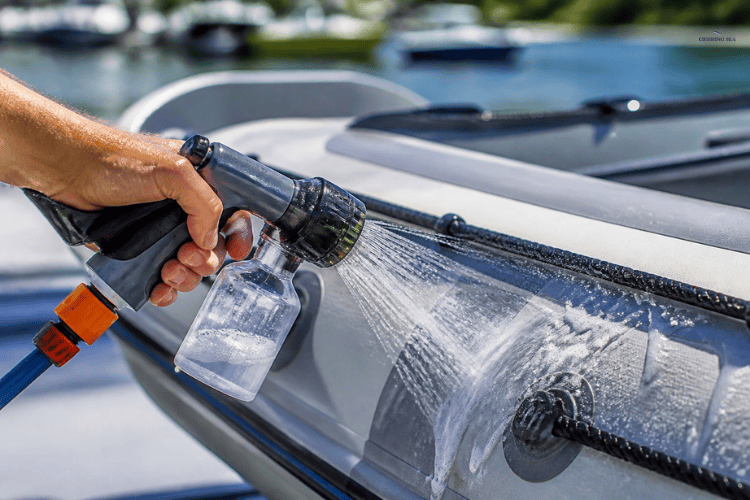
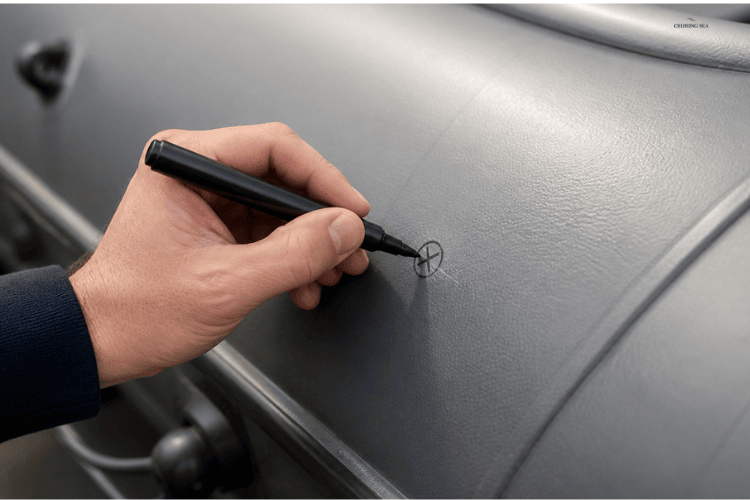
Mark every leak you find with a marker or a piece of tape, and don’t stop after the first one. It’s common to find multiple small holes, especially on an older boat. Check the entire surface including seams and areas around valves, where leaks like to hide. For very small leaks, run your hand slowly over the surface to feel escaping air, or listen closely for a faint hiss.
2# Get the Surface Spotless — Your Patch Depends on It
Deflate the damaged section slightly so you can work with it, but keep enough air in the tube to keep the surface firm and easy to handle.
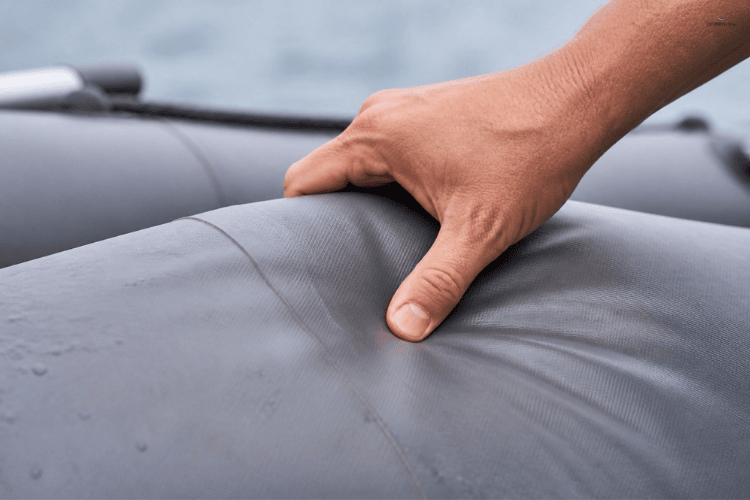
Clean the area thoroughly with acetone or MEK — these outperform rubbing alcohol for this specific job. Let the surface dry completely before moving on.
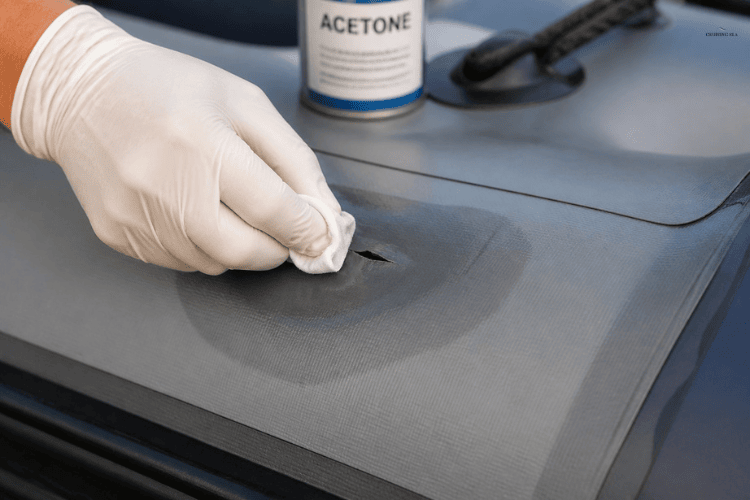
Next, sand the area around the damage in a circular motion, working about 1 inch beyond where your patch will sit on every side. Wipe away all dust with a clean cloth lightly dampened with acetone. The surface should feel slightly rough but not damaged or fuzzy.
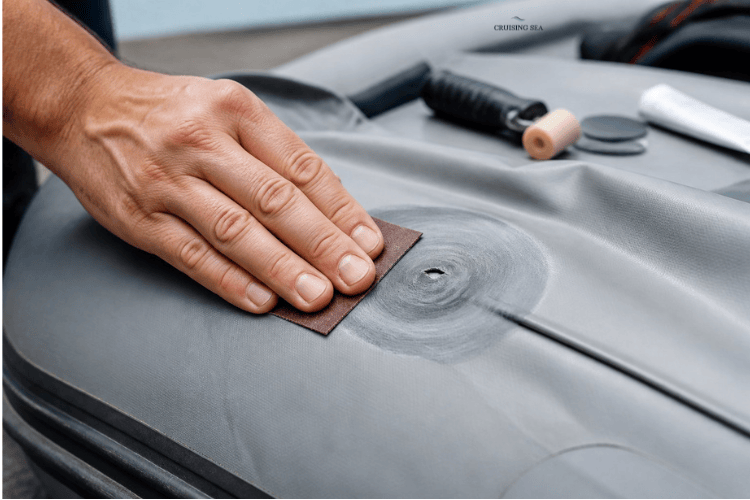
3# Cut, Prep, and Press Your Patch Into Place
Cut your patch so it extends at least 1 inch beyond the damaged area on all sides. Round the corners — square corners tend to catch and peel up over time.
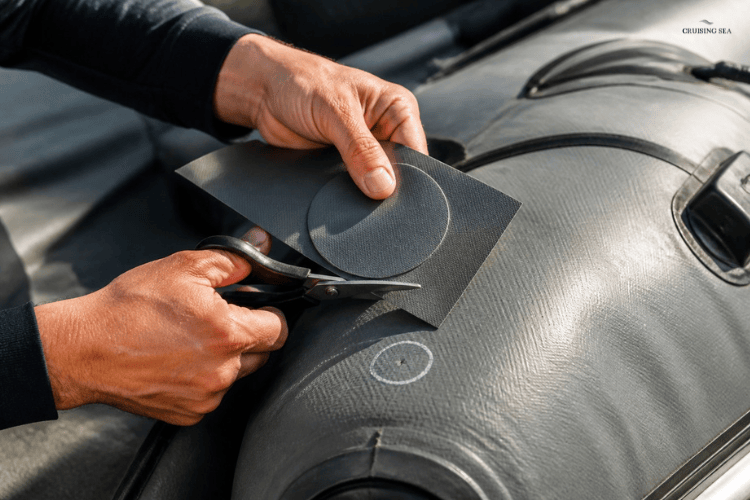
Sand the back of the patch the same way you sanded the boat, then clean it with acetone and let it dry.
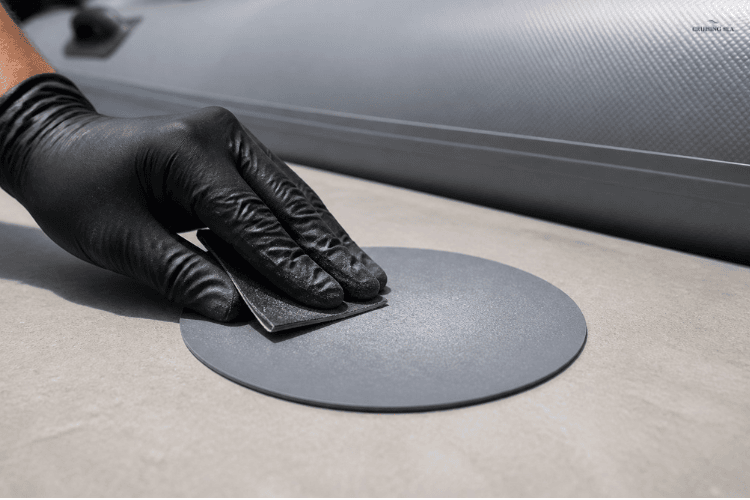
Apply a thin, even coat of PVC adhesive to both the boat surface and the back of the patch. Read your product’s instructions carefully — most two-part adhesives need to sit until tacky before you press the pieces together, usually 5 to 10 minutes. The adhesive should feel dry to a light touch but still slightly sticky when it’s ready.
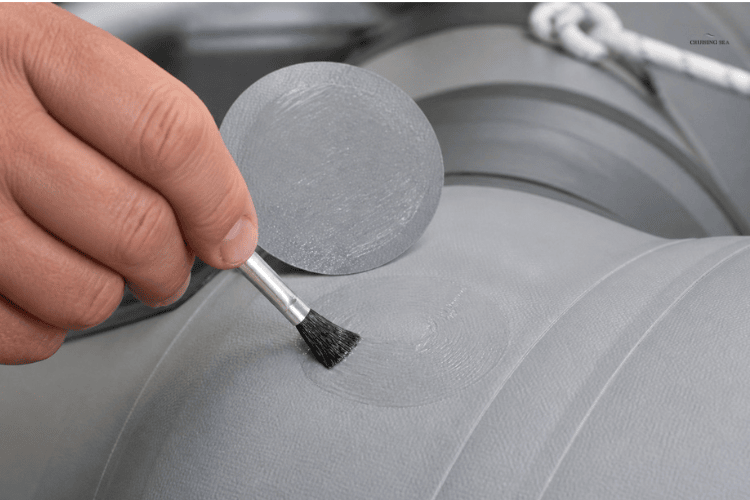
Press the patch onto the damaged area starting from the center and working outward to push out any trapped air. Use a roller or smooth rounded object to apply firm, even pressure across the whole patch surface.
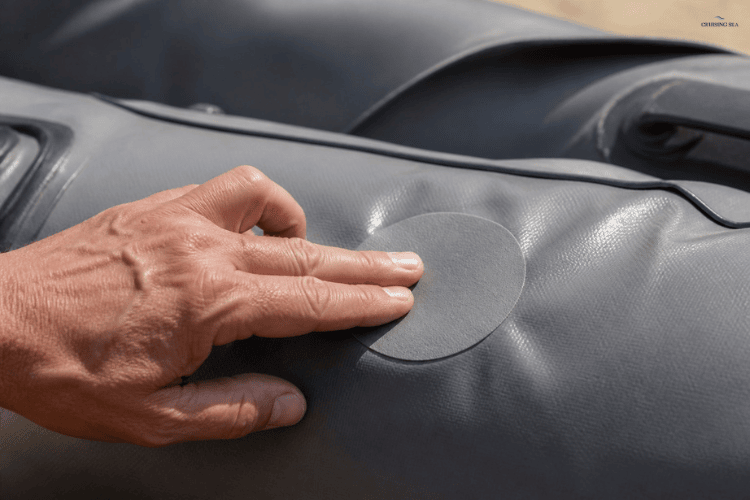
4# Wait It Out: Curing Is What Makes the Repair Last
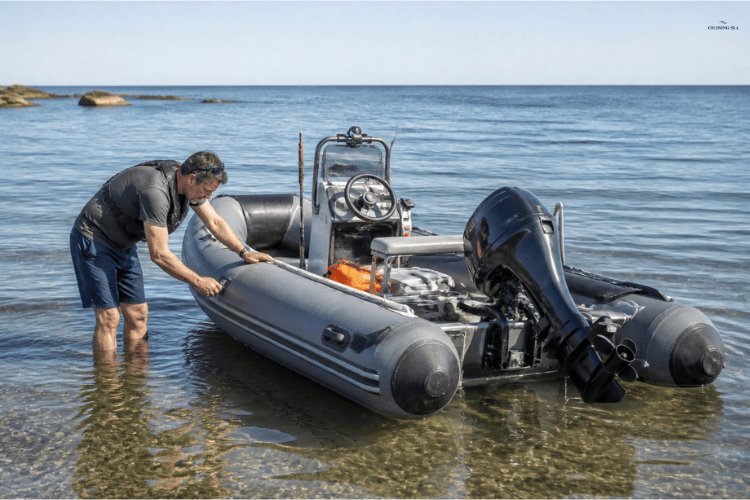
Set your boat in a warm, dry spot and leave it alone. Most repairs need at least 24 hours before you can use the boat — some adhesives require 48 to 72 hours for full strength. Check your product’s specific instructions and don’t rush this step.
Keep the repaired area flat, don’t inflate the boat during curing, and avoid putting any stress on the patch. Once the full curing time has passed, inflate your boat to normal pressure and spray soapy water over the repaired area. No bubbles means a clean, successful repair. Always test in shallow water before heading out — that way you can return to shore easily if something isn’t quite right.
Seam Repairs Done Right: How to Fix the Structural Weak Points That Keep Coming Back
Seam repairs require a more targeted approach than patching a puncture because you’re working with two layers of bonded material that have pulled apart. Getting this right means thorough prep, the correct adhesive, and consistent pressure during curing.
1# Find Exactly Where the Seam Is Failing
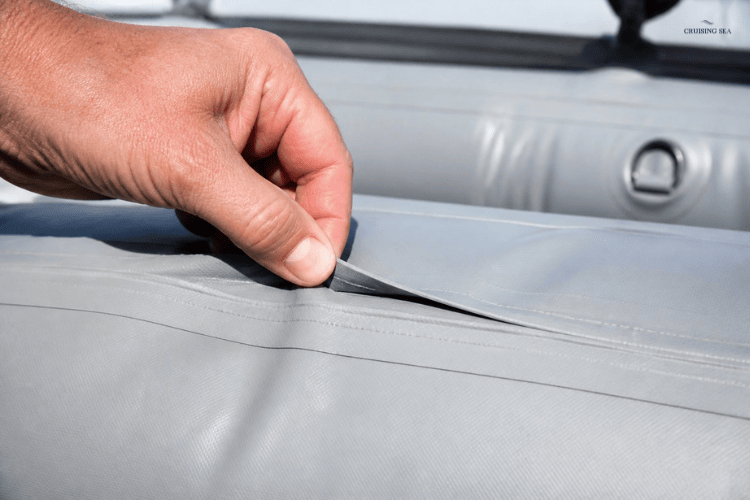
Spray your soapy water solution along every seam while your boat is fully inflated and watch for bubbles forming along the edges. Mark problem areas with a waterproof marker or painter’s tape before deflating — it’s easy to lose track of the exact spot once the boat goes flat.
Seam failures most often appear at high-stress points: corners, valve attachment areas, and where the tubes meet the transom. Partially deflate your boat and examine the seam up close to determine whether it’s fully separated or just lifting at the edges. Feel along the entire length of the seam for any additional weak spots nearby — one failing area often signals that others aren’t far behind.
2# Bond the Seam, Clamp It Down, and Give It Time
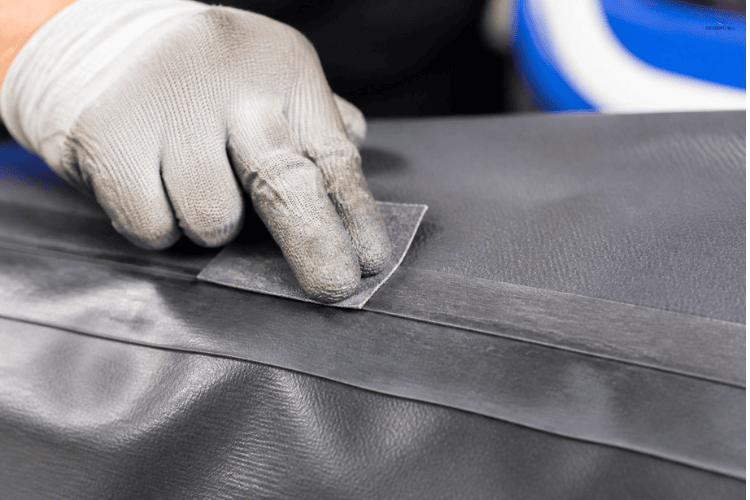
Clean the failed seam area with MEK and let it dry completely. Sand both surfaces that need to be bonded, then apply a thin, even layer of PVC adhesive to each one. Let the adhesive become tacky per your manufacturer’s instructions, usually around 5 to 10 minutes.
Press the surfaces firmly together and roll from the center outward to push out air bubbles. Then apply consistent clamping pressure using clamps, heavy books, or a seam roller. Wrap the area in plastic wrap first if you want to prevent clamps from sticking to the adhesive. Hold pressure for at least 24 hours — the longer the better for a seam repair.
3# Reinforce It So It Doesn’t Fail Again
A seam that has failed once will fail again under pressure without proper reinforcement. Once your bonded seam has fully cured, cut a patch from repair material that extends at least 2 inches beyond the repair on all sides. Apply it using the same adhesive process and clamping technique, making sure it wraps slightly around any curved surfaces.
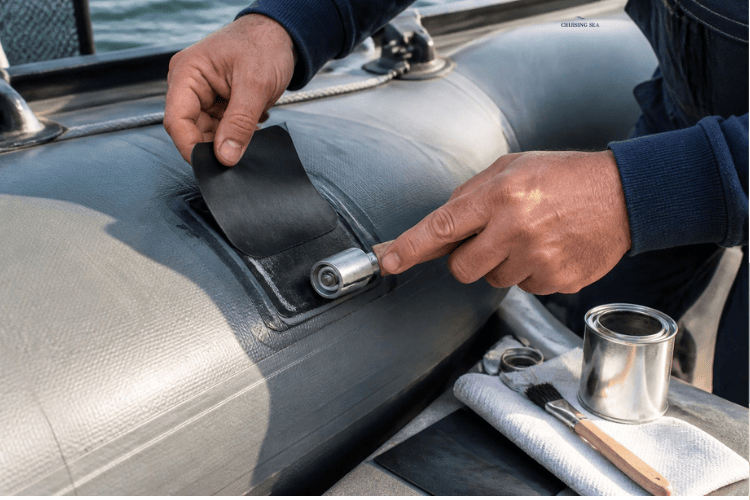
For especially high-stress zones like transom attachments or floor-to-tube seams, consider applying patches to both the inside and outside of the seam. This creates a sandwich-style reinforcement that can handle the constant flexing and pressure your boat experiences on the water far better than a single-sided patch ever could.
Valve Troubles? Here’s How to Stop the Leak Before It Ruins Your Day
Valves are one of the most common failure points on inflatable boats, but the good news is that most valve problems are completely fixable with basic tools and a little know-how. A loose or damaged valve can cause a slow, frustrating leak that drains your boat over hours — learning to spot and fix these issues quickly will save your trips before they’re ruined.
1# Is Your Valve Really the Problem? Here’s How to Find Out Fast
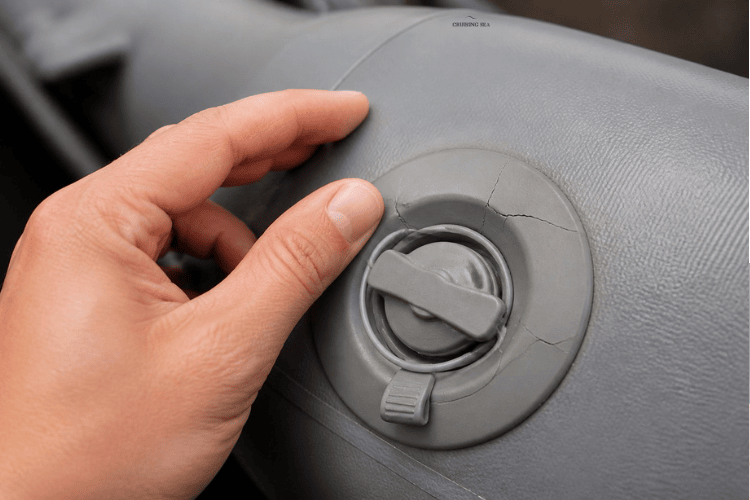
Mix a small amount of dish soap with water and apply it around the entire valve area while your boat is fully inflated. If bubbles form, you’ve confirmed the valve is your leak source.
The most common culprit is simply a loose valve that has worked itself free from normal use over time. You might also notice air escaping when you press down on the valve cap — this usually points to a valve core that needs adjustment or replacement rather than a full valve swap.
While you’re at it, check the valve cap’s O-ring or rubber seal. These small components dry out, crack, and collect debris over time, all of which break the airtight seal. If the O-ring looks worn or damaged, replacement seals are inexpensive and widely available in most boat repair kits. Sometimes simply cleaning the seal and the valve threads is all it takes to stop the leak — debris stuck in the threads is a more common cause than most people realize.
If cleaning and tightening don’t solve the problem, look for visible cracks in the plastic valve housing or signs that the valve base is pulling away from the tube fabric. At that point, the entire valve assembly needs to come out and be replaced.
2# The One Tool You Need: How to Use a Valve Wrench to Tighten or Replace Your Valve
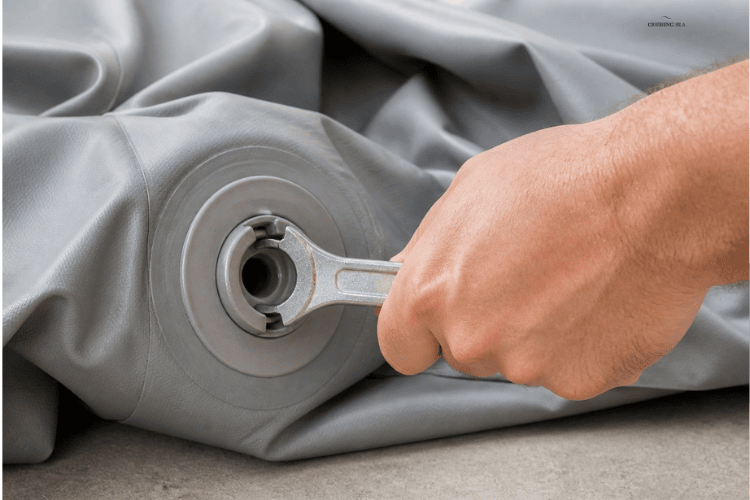
Skip the pliers — using the wrong tool on a valve is one of the fastest ways to crack the housing and turn a simple fix into a much bigger problem. A valve wrench is purpose-built for this job and fits cleanly into the notches inside the valve housing without damaging it. Most repair kits include one, and you can also pick one up separately for just a few dollars.
To tighten a loose valve, start by fully deflating your boat. Insert the valve wrench into the notches inside the housing and turn it clockwise until it’s snug. You want firm contact — not cranked down as hard as possible, which can strip the threads or crack the plastic.
For a full valve replacement, turn the wrench counterclockwise to unscrew the old valve completely. Most valves consist of two pieces: an inner collar that sits against the inside of the tube fabric, and an outer housing that screws through from the outside. Keep track of any washers or seals that come out with it — you’ll need them for reassembly or as a size reference when buying replacements.
To install the new valve, place the inner collar on the inside of the fabric and thread the outer housing through from the outside. Tighten it firmly with your valve wrench and check that the fabric sits flat between the two pieces with no wrinkles or bunching, which would create gaps in the seal.
3# Don’t Skip This Step: Testing for an Airtight Seal After Your Valve Repair
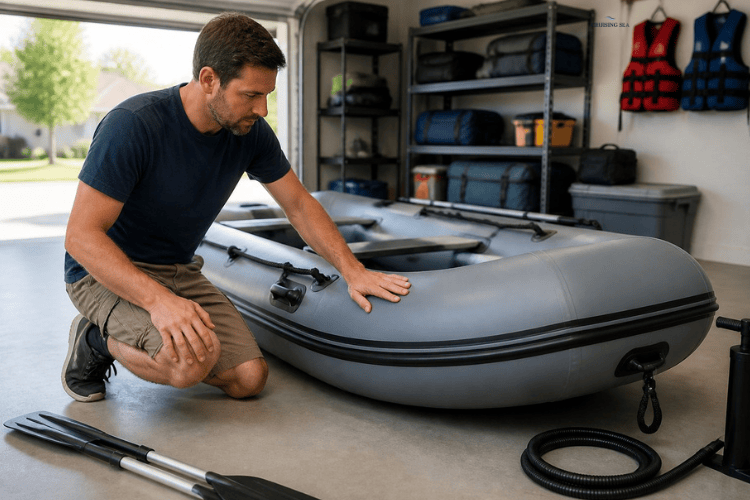
Once you’ve tightened or replaced the valve, inflate your boat to about 75% capacity — not full pressure yet. You want to test the repair before putting the valve under maximum stress.
Apply your soapy water solution around the entire valve area again, paying close attention to where the valve meets the fabric, around the threads, and along the cap edges. Remember, zero bubbles means you have a solid seal.
Let the boat sit inflated for at least an hour and then press on the tubes to check firmness. If they feel softer than when you started, air is still escaping somewhere. Reapply soapy water methodically around the valve to find exactly where it’s coming from.
If the seal holds after an hour, go ahead and inflate to the full recommended pressure listed in your owner’s manual. Test once more with soapy water and let it sit for several hours. A proper valve repair should show absolutely no air loss over that time — otherwise it means the job isn’t done yet.
Take Care of Your Boat and It’ll Take Care of You: Smart Habits That Add Years to Your Inflatable
The best repair is the one you never have to make. A little consistent care goes a long way with inflatable boats — a quality inflatable that’s well maintained can last 15 years or more, while a neglected one might fall apart in a fraction of that time.
Clean It Right, Store It Smart, and Your Boat Will Last for Years
Rinse your boat thoroughly with mild soap and fresh water after every single use. Salt water is particularly damaging — it breaks down tube material and weakens seam adhesives faster than almost anything else. Make sure your boat is completely dry before you deflate or pack it away, since storing it damp encourages mold and material degradation.
Read also: How to clean an inflatable boat
When storage time comes, keep your boat partially inflated if you have the space. This takes pressure off the seams and prevents the material from developing permanent creases. If you do need to fold it flat, fold it loosely and change up the fold lines each time so the stress doesn’t concentrate in the same spots over and over.
Store it in a cool, dry location away from direct sunlight — UV exposure degrades tube material faster than almost any other factor. Keep it away from heat sources, chemicals, and anything sharp. A garage or basement works well, but don’t set it directly on a concrete floor, which can transfer moisture and temperature extremes into the material. Use a tarp or keep your boat in its storage bag to protect it year-round.
Read also: How to store an inflatable boat the right way
Build These Simple Maintenance Habits and Stay Ahead of Expensive Repairs
Check your air pressure before every outing and top it off as needed. An underinflated boat flexes too much and wears out its seams prematurely, while an overinflated one puts dangerous stress on the material that can lead to sudden failures. Both extremes shorten your boat’s life significantly.
Make a habit of inspecting your boat every few months even when you’re not using it. Look for discoloration, soft spots, tiny surface cracks, or any signs of wear around valves, seams, and previous patches. Catching problems early turns a five-minute fix into something that could otherwise become a major repair project.
Always rinse sand and debris off your boat before packing it away. Small grit particles create friction against the tube material from the inside of a folded boat, gradually wearing pinholes that are frustrating to find and fix. And never drag your boat across rough surfaces like concrete, gravel, or barnacle-covered dock edges — that’s one of the fastest ways to create the exact damage you’re trying to avoid.
Keep a repair kit stocked and ready at all times, including patches, the correct adhesive for your boat’s material, and a valve wrench. If you’re not sure whether your boat is PVC or Hypalon, check with the manufacturer before buying adhesive.
Signs It’s Time for a Shop
Inflatable boats (RIBs, dinghies, tenders) have their own repair quirks compared to hard-hull boats. Small patches are easy DIY territory, but there are clear lines where professional help matters.
1. The Damage Is Larger Than a Few Inches
Small punctures and pinhole leaks are classic DIY patch jobs. But:
- Tears longer than 3-4 inches
- Damage along seams rather than the fabric itself
- Multiple tears/patches needed in the same area
Seam damage especially is tricky—factory seams are heat-welded or glued under controlled conditions, and a bad DIY seam repair often fails again quickly.
2. Slow, Mysterious Leaks You Can’t Locate
If you’ve soaped down every seam and seal and still can’t find where air is escaping, a shop has better diagnostic tools (pressure testing, dye tests) to find leaks in hard-to-reach spots like valve bases or internal baffles.
3. Valve Problems
Air valves that won’t hold pressure, are cracked at the base, or leak from the mounting point are more complex than surface patches—they often require internal access or valve replacement that’s easy to botch and hard to redo.
4. Floor or Transom Damage
- Soft or delaminating inflatable floors (especially air-floor or high-pressure drop-stitch floors)
- Cracked or separating transoms (where the outboard mounts)
These affect structural integrity and the boat’s ability to handle load or motor stress safely.
5. UV Degradation or Widespread Fabric Breakdown
If the fabric is chalky, brittle, or cracking in multiple spots from sun exposure, that’s not a “patch it and move on” situation—it may signal the tubes need re-coating or the boat is nearing end of usable life. A shop can assess whether repair is even worth it versus replacement.
6. A DIY Patch Has Already Failed
If you patched it once and it didn’t hold, that’s a sign either the material ID was wrong, the surface prep was insufficient, or there’s more damage than visible. Repeated failed patches waste money and risk a failure while inflated on the water.
7. Air Loss Rate Is Getting Worse
A tube that needs topping off once a season is normal. One that needs air every outing—or worse, mid-trip—means something’s wrong beyond a simple pinhole, and it’s worth having a shop diagnose it properly.
Read also:

Daniella has been passionate about travel, the sea, and nature for many years. As a child, she frequently traveled throughout the Mediterranean and continued with her journeys throughout her adult life.
Her experiences have created the desire within her to share her love for traveling with other passionate and adventurers who want to discover beautiful horizons and new cultures.